Summary: OLM is a file format of MS Outlook for Mac. Conversion from Mac Outlook OLM file to Apple Mail allows you to access your Outlook for Mac data in Apple Mail. If you want to view OLM data in Apple Mail, you can choose either a manual conversion process or choose a third-party professional.
OLM File Format
OLM stands for “Outlook for Mac”, and the file format, introduced by Microsoft for Mac Outlook 2011 to replace Entourage Archive (.rge) file format. It is a binary format that you can access into Outlook for Mac. You can open and transfer OLM data to other file formats.
If you have an OLM, you can open it by installing Outlook for Mac on your Mac system. The other way is to download an OLM viewer application. You can import an OLM file into Outlook for Mac with the help of the “Import” option on the “File” menu. It lets you view the desired OLM file in your Outlook. To create a new OLM file, hit the “Create New” tab on the “File” menu and then choose “Outlook for Mac Data File (.olm)”.
EMLX File Format
EMLX is a default file format of Apple Mail which is a free cloud platform to store individual email. They are lightweight file to store a single email message such as header, body, attachments, and other metadata.
An EMLX is a text-based file to open and edit with the help of a text editor or Apple Mail. The default location of EMLX files is ~/Library/Mail/Vx folder, where “x” is a version number, on the local hard drive of your Mac system. If you want to access EMLX , hit it twice to open. You can drag and drop the file to open in Apple Mail.
Manual Solutions to Import Mac Outlook OLM file to Apple Mail
Apple Mail is a free application for Mac users. If you have received an OLM file, you can open them on your Apple Mail data with the help of a third-party program or a manual solution. Manual conversion methods are not simple to apply. They require technical competency and at the same time, you must have backup of the targeted OLM file.
The below manual conversion requires to practice in two stages. The first process is to save data in MBOX format and access the MBOX data in Apple Mail.
- Access your Outlook for Mac tool
- Select the required folder and drag it to your desktop.

- The dragged data will save in MBOX file format.
Note: Remember, all your MBOX data saves in a specific folder or a single plain text file.
Tips & Tricks:- Convert Mac OLM to Outlook PST
- After that, turn the Outlook app off, select Apple Mail and hit File. From the drop-down, choose Import Mailboxes.

- From a new window, select the radio button of Files in mbox format and hit Continue to look for other steps.

- Locate the Inbox folder holding the current MBOX files. Click on

- The process will start. Wait, don’t click on the Cancel tab.

Drawbacks of the Manual Process
The abovementioned method is easy to achieve but has several downsides.
- It is not a convenient solution when you want to export multiple files.
- It is a tedious process as it consumes time.
- You may have to compromise with the hierarchy of emails.
- It has data loss risk.
- You cannot use for custom data conversion.
- Migration process sometimes fail to achieve
- You cannot export orphaned OLM files.
- It requires backup of the particular data to avoid data loss.
- Outlook for Mac installation is compulsory to practice conversion with the help of this app.
Automated OLM to EMLX Converter
Luckily, you will find several Mac Outlook OLM file to Apple Mail conversion solution. Stick with the app that is reliable and easy to use.
One such application is Datavare OLM to EMLX Converter. The tool simplifies the conversion process. It exports data quickly and with accuracy. It is capable of exporting orphaned OLM files. The tool is independent. It doesn’t require MS Outlook prior installation for data conversion. After conversion, the app creates a log file.
Steps to Migrate Data with Mac Outlook OLM file to Apple Mail Converter
- Download the run the app
- Select the folder mode or file mode to filter data and hit Browse
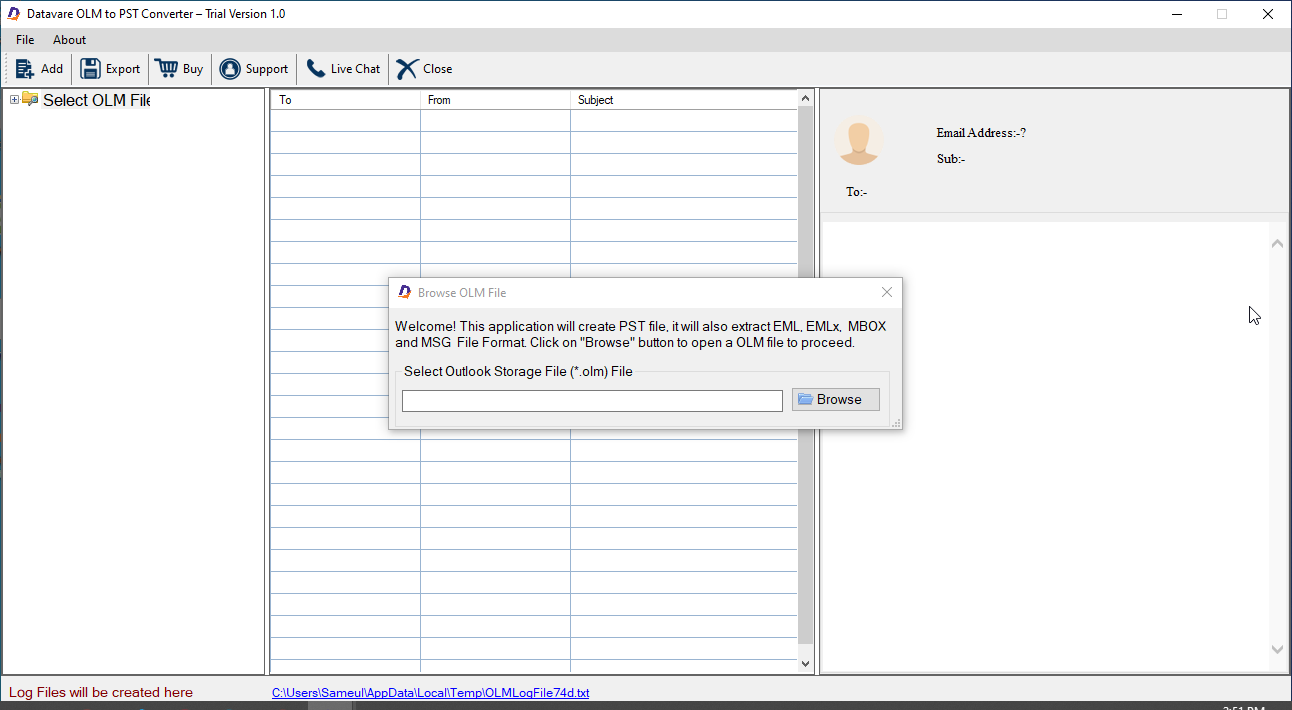
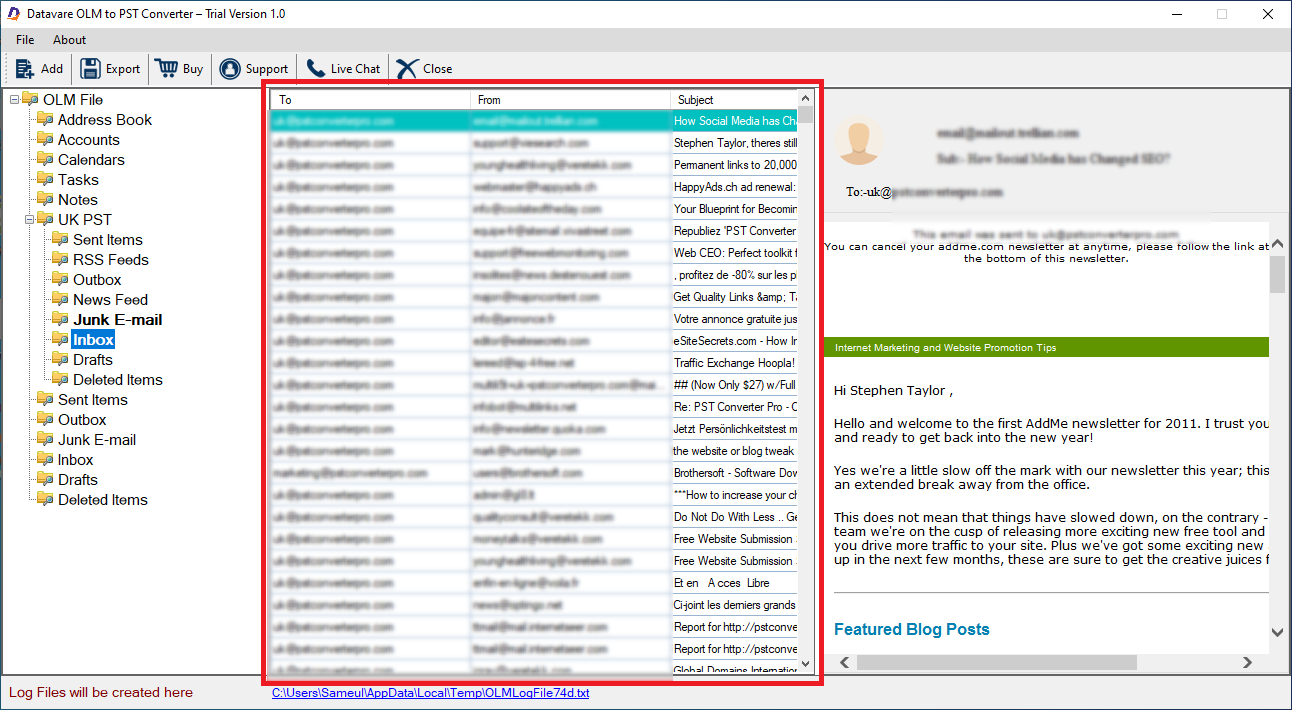
- Get preview of the uploaded OLM files
- From the Menu, hit Export and select EMLX file format
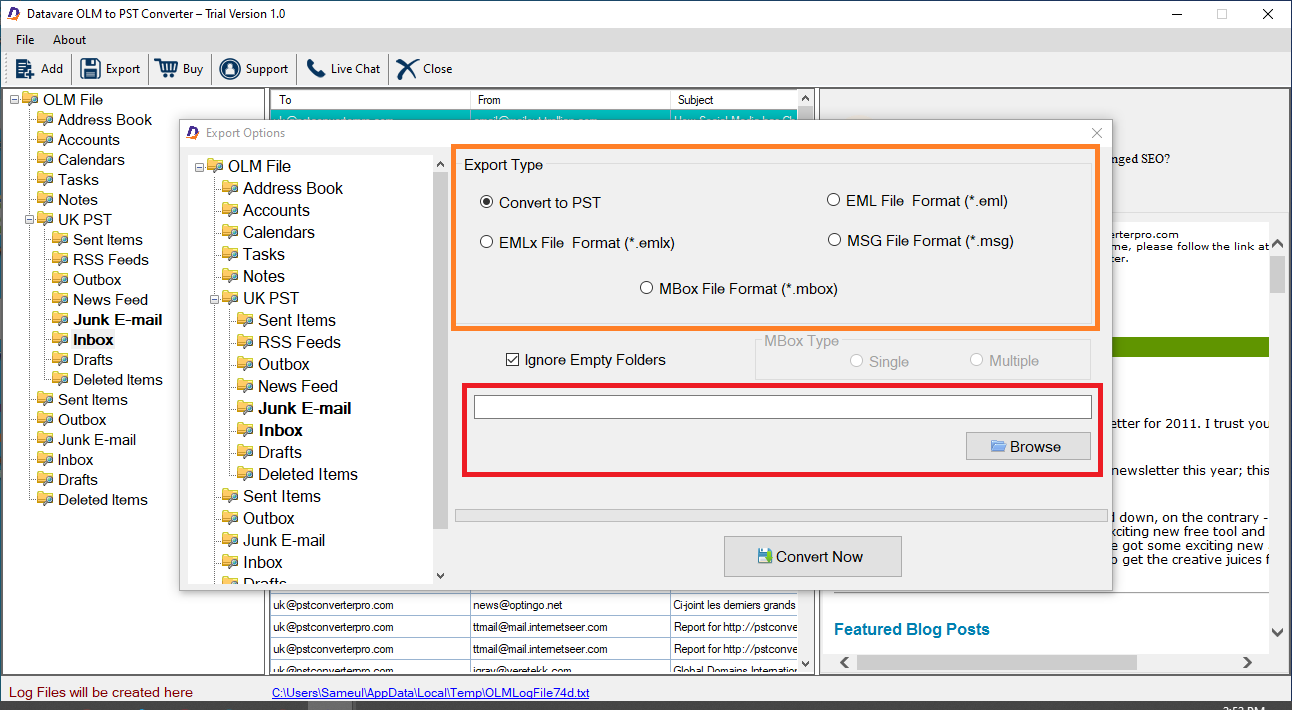
- Hit the Browse button to save data locally
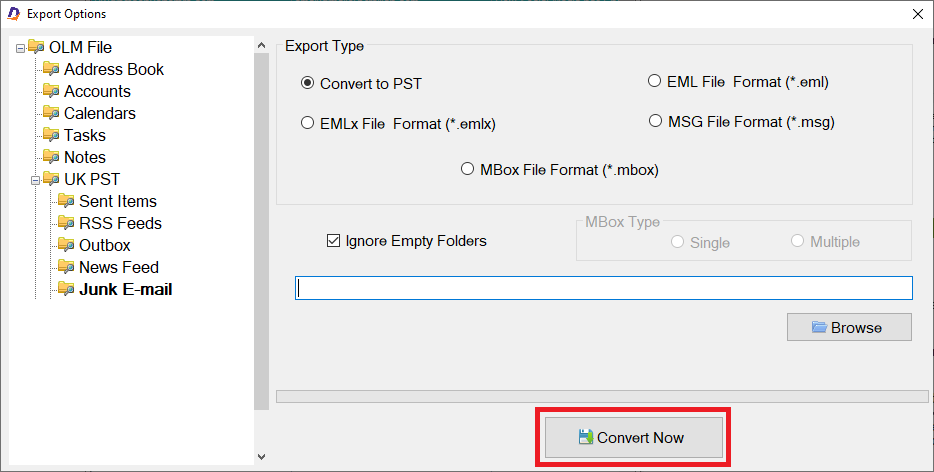
- Press the Conversion tab to complete the process
Conclusion
Conversion with the help of a third-party tool is a way easy than a manual solution. What are you thinking of? Download the free trial version of the app to examine its efficiency.
