Summary: The article is dedicated to how to export Earthlink email data to Gmail effortlessly. Several users face the problem of conversion. They either give up or consult a technician to transfer Earthlink’s email to Gmail. We discuss some practical solutions for conversion.
When you compare Earthlink with Gmail, you will find Gmail a robust email client. It provides optimum quality security. Today, Gmail is used by every single user in the world. Everyone is familiar with Gmail. Gmail supports IMAP/POP3 support and Label management. The interface is interactive.
Let’s Know Why Users Switch from EarthLink to Gmail
Here we outline a variety of reasons why users like to move from Earthlink email to Gmail.
- Google Inc.’s Gmail email service is free for users. It offers a high level of data security that no other server-based email clients offer. That is why several users are prompted to leave Earthlink clients and move to Gmail.
- The interface of Gmail is relatively user-friendly than other email clients. Users with basic skills can operate Gmail.
- Gmail is flexible to open on your laptop to your handheld devices. Hence, it offers real-time access to databases.
Methods to Migrate EarthLink email to Gmail
At present, there are two popular ways to switch from EarthLink to Gmail. We provide all two solutions and let you decide your favorite ways to transfer from EarthLink to Gmail.
Manual Conversion Solution
Integrate your Gmail to your EarthLink.net mailbox. It is how you can able to transfer all Gmail data to EarthLink quickly. Below are the steps to follow.
Tip: To finish each step, don’t forget to press the tab
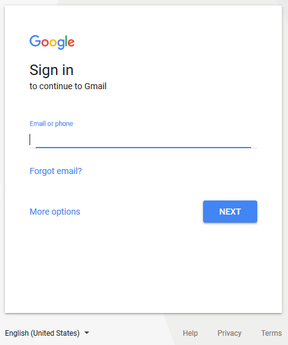
- Provide your Gmail ID and password and press the Next tab.
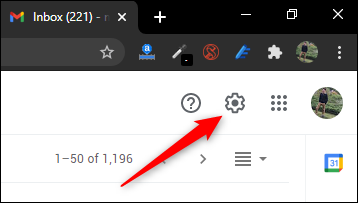
- In the account box, press the “Settings” icon.
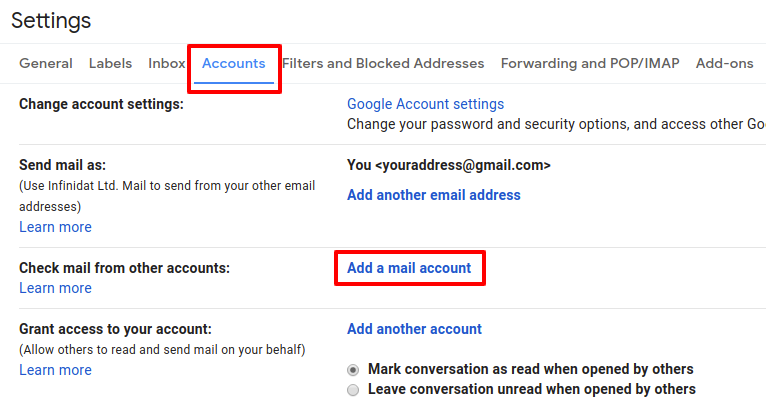
- A new window will open with multiple options, click the “Accounts and Import” tab and then press the “Add a mail account” link.
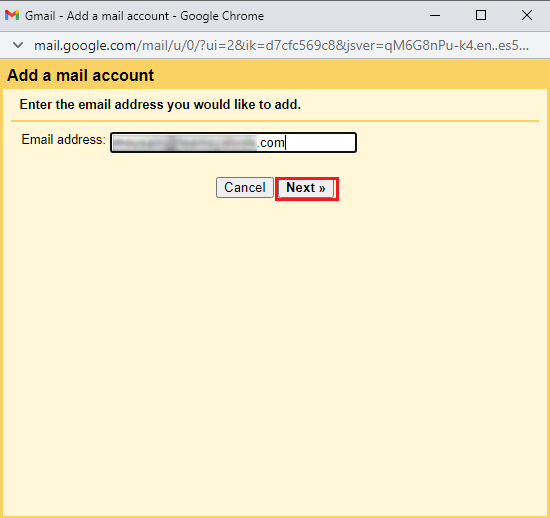
- A new box will open ask you to enter the email address that you want to integrate with Gmail. Provide the correct email address of your EarthLink account and Press Next.
Also Read:- Save IMAP emails to Outlook PST
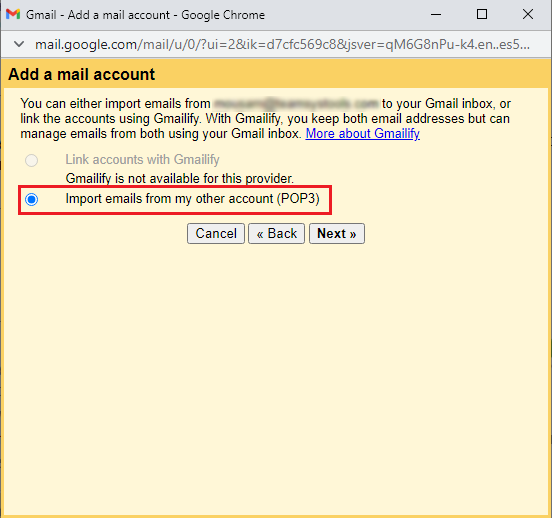
- Choose “Import emails from my other account (POP3)” and hit “Next”.
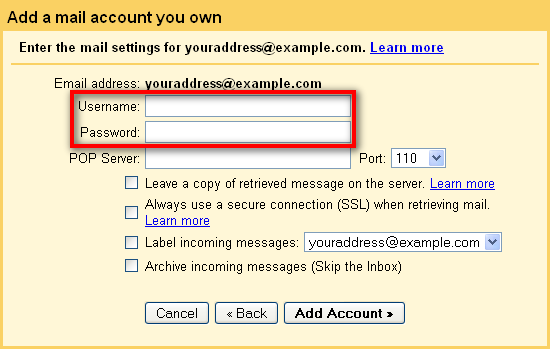
- Fill the credential box with your correct EarthLink account details and its passwords.
- Important: don’t forget to check the “Leave a copy of the retrieved message on the server” option.
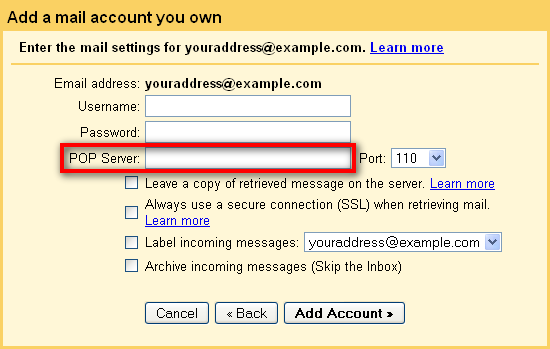
- In the “POP Server” box, type pop.earthlink.net.
- Press the “Add Account” to add the EarthLink email account to Gmail.
- A new box will pop up, press the “No” tab and then the “Finish” button.
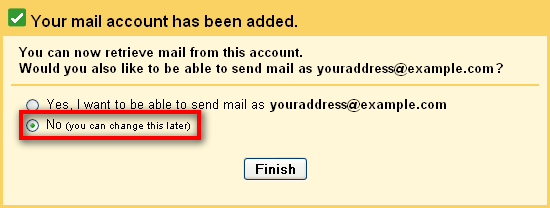
This is the way to follow to connect Gmail to your EarthLink account. Now, you can transfer EarthLink to your Gmail account.
Drawbacks of the Manual Method
- Though the process is free it is time-consuming. You will have to follow several steps.
- The procedure needs technical expertise. You need to technically sharp to transfer data.
- The solution doesn’t give assurance of high-quality conversion.
- Make sure your have not mistaken any step. If you have done, you may have to follow the same steps again.
Automated Conversion EarthLink to Gmail
Manual conversion methods may cause data loss. They consume time and energy. If you have a lot of EarthLink emails to export to Gmail, it is good to use a backup solution. Among several choices to choose from, we recommend you try the DataVare IMAP Mail Migration tool. It is one of the best applications to install and run on your system.
Significant Key Features of DataVare Mail Migration Tool
- It is a single-window application. Hence it is a lightweight tool to transfer data.
- The interface of the application is interactive. It doesn’t need you to be technically proficient to operate.
- For conversion, you will have to provide the credentials, host, and port detail of Gmail and EarthLink accounts.
- It automatically connects with the two server-based email accounts as you click the Authenticate Me tab.
- It enables custom conversion by exporting only required databases. Select the source folder and click on the Apply Filters tab to filter data.
- It saves the exported data to the specified location or saves the data to a new folder.
The conversion process can pause if the internet connection goes weak. However, you can resume the process as the server connection establishes.
Here are the Steps to Follow
- Open the application after downloading it
- Provide the source IMAP account details and target IMAP account details
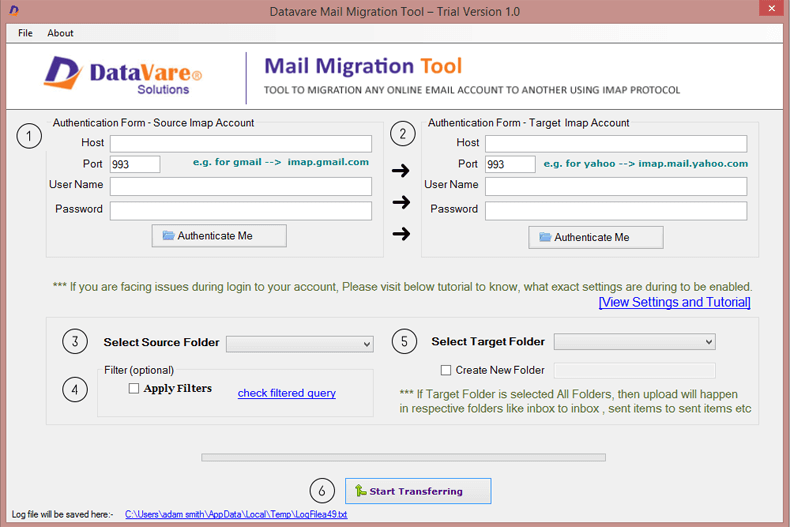
- Click on the Authenticate Me button
- Filter data as per your requirements
- Select the target folder to save data in your Gmail account
- Press the Start Transferring button
Conclusion
What have you decided to go with? We are sure that you will choose a third party for conversion. Because for the ease of users also offers free demo pack which users can convert a few numbers of files free.
